Epson Stylus CX7400
The Stylus CX7400 from Epson gives your desired print quality without wasting time. In just 60 seconds or one minute, you will have black and white prints with utmost quality. Even color prints are stunning with this Epson printer. No matter what your printing tasks are, you will find this Epson model reliable. And if it's a reliable Epson Stylus CX7400 ink cartridge that you need, we've got it here at Inkjets and we offer it at a reasonably low price. Choose from our Remanufactured Epson 69 (T069120) Black, Epson 69 (T069220) Cyan, Epson 69 (T069320) Magenta, and Epson 69 (T069420) Yellow Ink Cartridges and have your order shipped at a minimal shipping cost of $3.95 to the contiguous US. If you have any queries, our friendly and knowledgeable customer service representatives are ready to assist you.
-
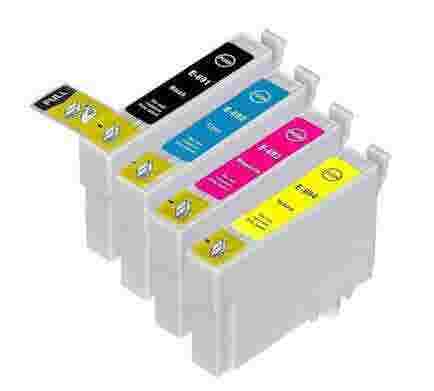
Epson 69 Remanufactured Ink Cartridge 4-Pack ComboRegular price From $16.99Regular priceUnit price per
$16.99Sale price From $16.992 for $14.99 each
3 for $13.99 each -
Epson 69 (T069120) Black Remanufactured Ink CartridgeRegular price From $8.99Regular priceUnit price per
$8.99Sale price From $8.99245 page yield2 for $6.99 each
3 for $4.99 each -
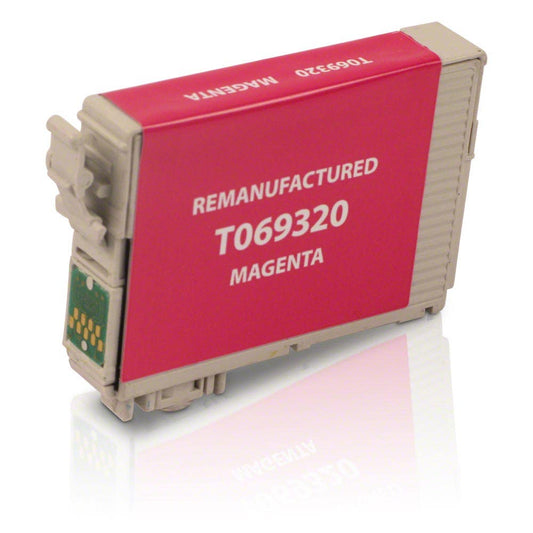
Epson 69 (T069320) Magenta Remanufactured Ink CartridgeRegular price From $8.99Regular priceUnit price per
$8.99Sale price From $8.99350 page yield2 for $6.99 each
3 for $4.99 each -
Epson 69 (T069420) Yellow Remanufactured Ink CartridgeRegular price From $8.99Regular priceUnit price per
$8.99Sale price From $8.99350 page yield2 for $6.99 each
3 for $4.99 each -
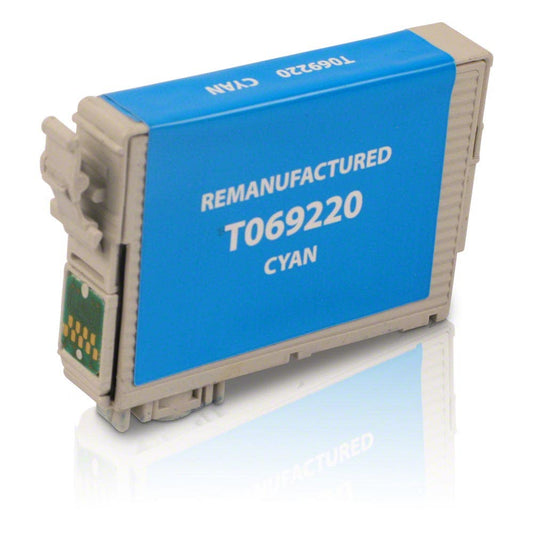
Epson 69 (T069220) Cyan Remanufactured Ink CartridgeRegular price From $8.99Regular priceUnit price per
$8.99Sale price From $8.99350 page yield2 for $6.99 each
3 for $4.99 each


How to Replace Epson Stylus CX7400 Ink Cartridge
If you have already expended an ink cartridge, your Epson Stylus CX7400 will notify you by lighting up the ink light at its control panel. The light will only flash if cartridge replacement is needed. Alternatively, view the installation here.
- 1. Lift the Stylus CX7400‚ôs scanner head.
- 2. Locate the stop button and then, press it. This will prompt the printer head to align which empty ink cartridge to the no ink logo.
- 3. Only access the cartridge door once the printer head is at its replacement position.
- 4. Open the door cover of the cartridge area.
- 5. Squeeze ink cartridge‚ôs tab while slowly moving it out of the slot.
- 6. Proceed with the new ink cartridge installation.
- 7. Secure the cartridge by pushing it down in place.
- 8. Close the cartridge door and then, the scanner.
- 9. Ensure proper ink cartridge installation by pressing the stop button. Your printer will then charge the ink. You have to wait at least 2 minutes before you will be able to print a document or picture.
- 10. Ink cartridge installation is complete when the power button is no longer flashing.
Why Buy Inkjets Remanufactured Epson Stylus CX7400 Ink Cartridges
Our selections of remanufactured Epson Stylus CX7400 ink cartridges are available in discount prices compared to genuine Epson cartridges. As a matter of fact, when you get our high yield capacity combo pack, you can save as much as $75! We deliver throughout United States with 2 to 5 days shipping. As for the quality of our remanufactured ink cartridges for Epson Stylus CX700, we comply with the industry‚ôs standards. We even have a proprietary ink blend to give you outstanding graphics and texts all the time. For replacement or refund, simply call our customer hotline and we will ship them to you!