Epson Stylus NX400
Stock up on our high-quality remanufactured Epson Stylus NX400 ink cartridges, available at very low prices. Order now and enjoy exceptional print quality, friendly customer service, and 1-year money-back guarantee
With the Epson Stylus NX400, you can view and edit your favourite pictures without using a computer or laptop. All you need to use is its intuitive LCD display and you can have your photos ready for printing in no time. This Stylus printer also promotes another cable-free printing experience via its memory card slots. To capture every pigment of your photo, this printer houses four individual ink cartridges. This offers low-cost maintenance as it allows you to replace only the specific cartridge that needs replacement.
And if it's more affordable replacement Epson Stylus NX400 ink cartridges that you need, we've got them right here at Inkjets. Whether you need the Remanufactured Epson 68 or Epson 69 ink cartridges, we've got you covered. We offer a 100% Satisfaction Guarantee because want you to be completely satisfied with your purchase. Shop risk-free here now!
Compatible ink for Epson Stylus NX400
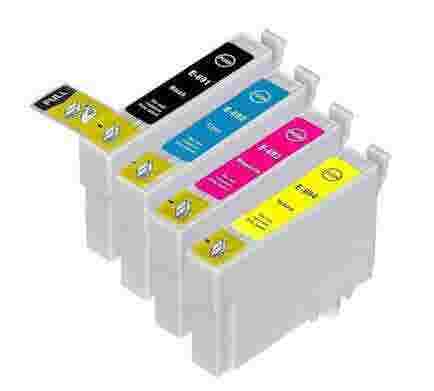
The Epson Stylus NX400 uses Epson 68 and Epson 69 ink cartridges.
-
Epson 69 Remanufactured Ink Cartridge 4-Pack ComboRegular price From $16.99Regular priceUnit price per
$16.99Sale price From $16.992 for $14.99 each
3 for $13.99 each -
Epson 69 (T069120) Black Remanufactured Ink CartridgeRegular price From $8.99Regular priceUnit price per
$8.99Sale price From $8.99245 page yield2 for $6.99 each
3 for $4.99 each -
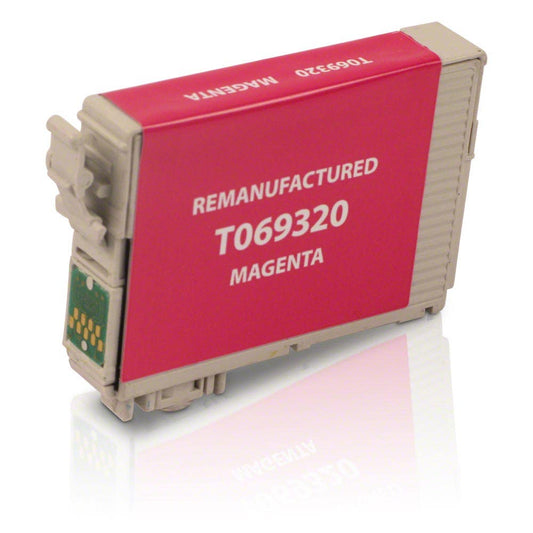
Epson 69 (T069320) Magenta Remanufactured Ink CartridgeRegular price From $8.99Regular priceUnit price per
$8.99Sale price From $8.99350 page yield2 for $6.99 each
3 for $4.99 each -
Epson 69 (T069420) Yellow Remanufactured Ink CartridgeRegular price From $8.99Regular priceUnit price per
$8.99Sale price From $8.99350 page yield2 for $6.99 each
3 for $4.99 each -
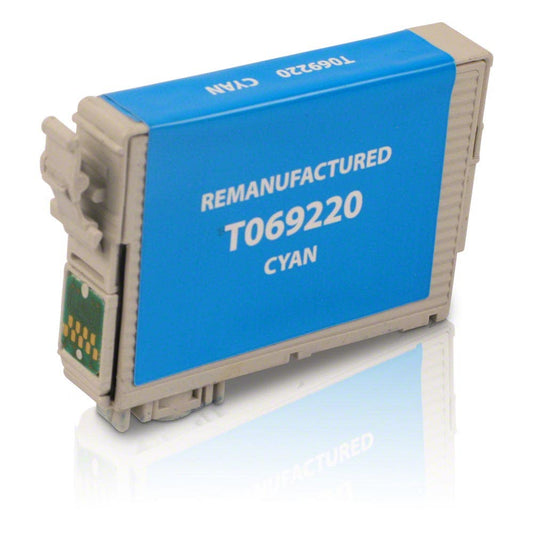
Epson 69 (T069220) Cyan Remanufactured Ink CartridgeRegular price From $8.99Regular priceUnit price per
$8.99Sale price From $8.99350 page yield2 for $6.99 each
3 for $4.99 each


How to Replace Epson Stylus NX400 Ink Cartridge
Installing a new ink cartridge on your Epson Stylus NX400 printer is not as hard as you think. Just follow the steps below and you can print again in no time.
- 1. Plug in your NX400 printer to a power outlet.
- 2. If the ink cartridge is not empty, go to Setup and then, Maintenance. Press the OK button, search for the Change Ink Cartridge option and again, press the printer‚ôs OK button. You can skip this step if the printer already displays the empty the ink cartridge.
- 3. Locate the scanner and lift-it up.
- 4. Go to the cartridge area.
- 5. Remove the ink cartridge that you want to replace.
- 6. Insert the new ink cartridge. Push it down to the slot until it is securely in place.
- 7. Return the scanner to its original position.
- 8. After closing the scanner, press the printer‚ôs OK button. The printer will then charge the ink.
- 9. The printer will then display the ink installation complete message on the display screen.
Why Buy Inkjets Remanufactured Epson Stylus NX400 Ink Cartridges
If your printer‚ôs cyan level is running low, it‚ôs time to replace it with Inkjets‚ôs remanufactured ink cartridges for Epson Stylus NX400. In comparison with OEM Epson ink, our remanufactured Epson Stylus NX400 ink cartridges are available at a more affordable price range. The budget-friendliness of these Epson remanufactured ink cartridges do not compromise output. In fact, they provide similar luminance and sharpness as OEM options that you won‚ôt hardly notice the difference. In order to give you the best Inkjets purchase experience, we are providing remanufactured Epson Stylus NX400 ink cartridge buyers a 100% money back guarantee. This means that if our products fall short of your expectations we will give you a full refund. Aside from issuing refunds, we also offer 1-year warranty on all remanufactured ink cartridges for Epson Stylus NX400.